
Workspaces and team collaboration
Create a workspace to collaborate with your team. Invite members, share encrypted projects, assign roles, and use the audit trail for compliance — all with zero-access privacy.
Workspaces and team collaboration
In a nutshell: Create a workspace, invite your team, and collaborate on shared projects — while everything stays encrypted. Tresor can't see any of it, and your personal conversations remain private.
What is a workspace?
A workspace is a shared environment for your team. Inside a workspace:
Team members have their own private conversations (visible only to them).
You can share projects — giving members access to conversations, files, and context.
Billing is unified — one subscription covers all seats.
An audit trail tracks workspace activity for compliance (Team and Enterprise plans).
Think of it as a virtual office where everyone has their own private desk, but you can set up shared meeting rooms (projects) when you need to collaborate.
Creating a workspace
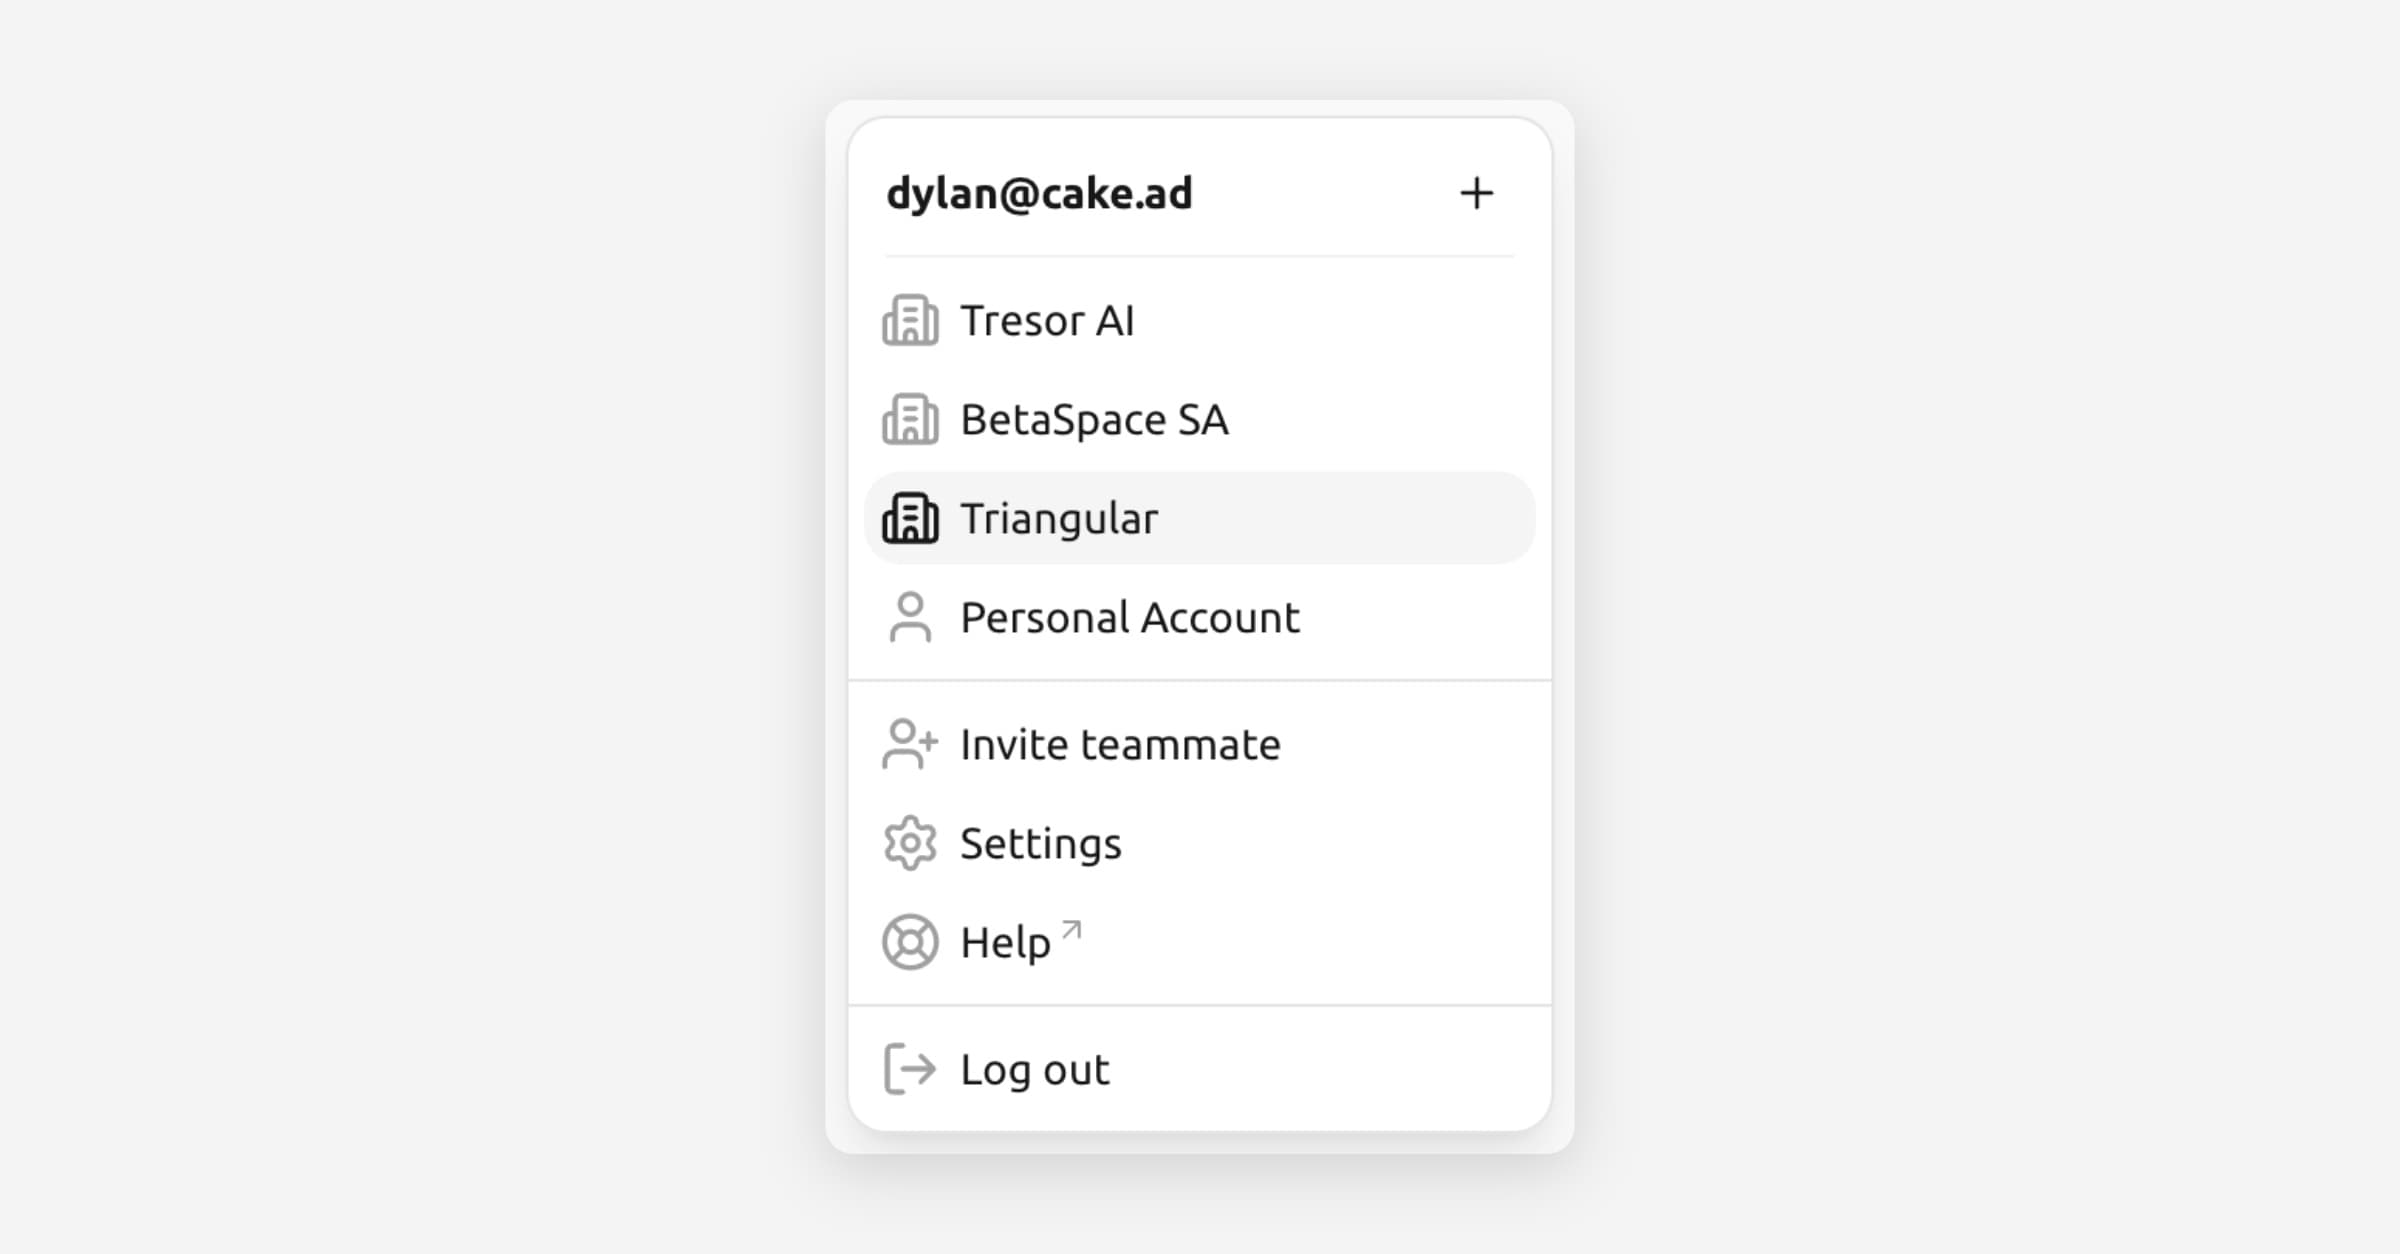
Click the account switcher in the sidebar (your avatar at the bottom).
Select Create workspace.
Enter a workspace name (e.g., your company or team name).
Click Create workspace.
[Screenshot: The "Create workspace" dialog with a field for the workspace name]
Your workspace is ready. Now invite your team.
Inviting team members
In your workspace, click Invite teammate (or go to Settings → Members → Invite members).
Choose how to invite:
Email invite: Enter one or more email addresses. Invitees receive an email with a link to join.
Share link: Generate a link that anyone can use to join the workspace.
Select the role for the invitee(s).
Click Send invites or Generate link.
[Screenshot: The invite members dialog showing email and link invite tabs]
Invitees create a Tresor account (or log in to an existing one) and are added to your workspace automatically.
Member roles
Role | Can do |
|---|---|
Owner | Full control: manage members, billing, settings, projects, and conversations |
Admin | Manage members, invites, and settings. Access and contribute to the workspace |
Member | Access and contribute to the workspace. Cannot manage members or settings |
Switching between personal and workspace
Click the account switcher in the sidebar.
Select your personal account or one of your workspaces.
Your personal conversations and workspace conversations are kept completely separate. Switching is instant.
Sharing projects
Sharing happens at the project level — you don't share individual conversations, you share entire projects. This includes all conversations, files, and instructions within the project.
Open a project in your workspace.
Go to Project settings → Share project.
Choose members and set their access:
Can view — Read-only access to conversations and files.
Can edit — Full access to create conversations, upload files, and modify the project.
Click Save.
Shared projects show a small indicator on the folder icon in the sidebar.
For details on project creation and management, see Projects.
🔒 Privacy: When you share a project, Tresor securely distributes the encryption key to the selected members. Tresor itself never gains access. Members who aren't given access cannot see a thing.
Managing members
Go to Settings → Members in your workspace.
You'll see all members and pending invites with their roles and status.
Use the actions menu (⋯) on each row to:
Edit role — Promote or demote a member.
Remove member — Revoke their access immediately.
Resend invite — For pending invites that may have been missed.
Revoke invite — Cancel an unaccepted invitation.
Removing a member immediately revokes their access to all shared projects.
Audit trail
On Team (30-day retention) and Enterprise (1+ year retention) plans, the audit trail records workspace events:
Member joins, leaves, or is removed
Role changes
Projects created, shared, or deleted
Billing changes
The audit trail tracks actions, not conversation content. It's designed for compliance without compromising privacy.
Good to know
Workspaces require a Team or Enterprise plan. Free and Pro users have personal accounts only.
Each workspace member takes one seat in your subscription (€39/seat/month on Team).
Your personal conversations are never visible in a workspace — only project content you explicitly share.
Workspace names are encrypted, just like everything else in Tresor.
You can be part of multiple workspaces and switch between them freely.
Related articles
Projects — Create and manage projects for organized work.
Project files and context — Upload shared documents.
Billing and plans — Team pricing and seat management.
Managing your account — Personal account settings.