
Connectors
Connectors let Tresor use approved external tools and data sources in a controlled way.
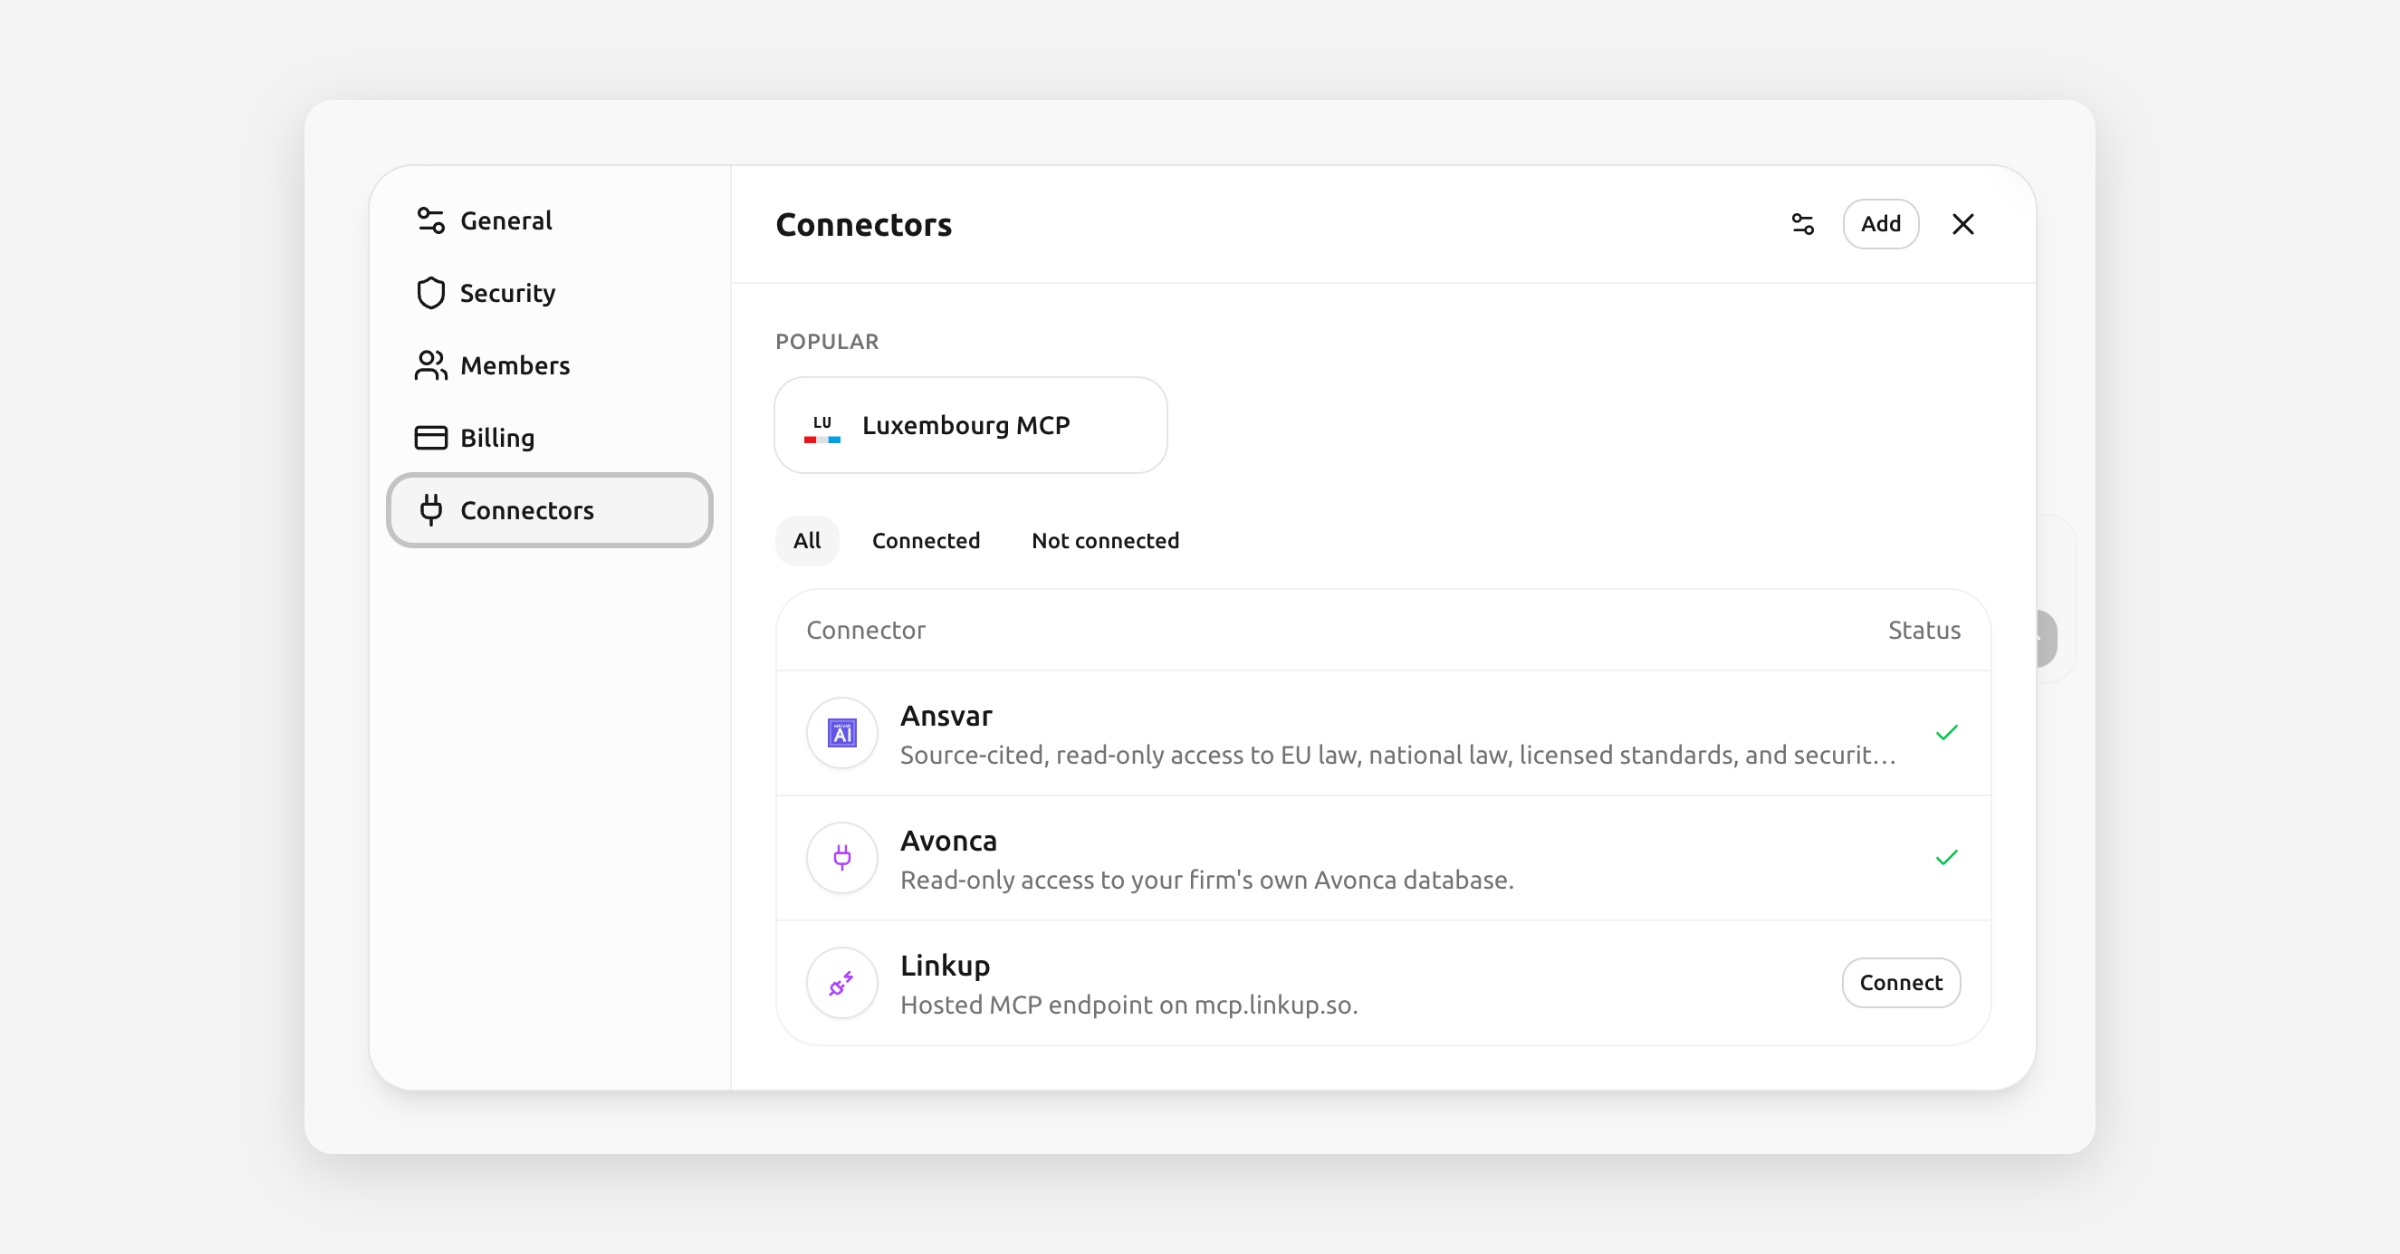
Connectors
In a nutshell: Connectors let Tresor reach approved external tools and data sources from inside a conversation. You add them in Settings → Connectors, attach them to a chat when you need them, and control when requests leave Tresor.
What connectors are
A connector is a secure link between Tresor and an external tool or data source. It gives the AI reusable capabilities instead of a one-off file upload.
Examples include:
your Google Drive
official Luxembourg public-data sources
a firm-managed Avonca deployment
a custom internal tool exposed through a connector endpoint
Think of a connector as a switch you turn on for a conversation when you want the AI to use an external source. If you do not attach it, Tresor does not use it.
Where to manage connectors
Open Settings → Connectors from your personal account or from a workspace.
There you can:
add a connector
inspect its status
see whether it is Personal or Workspace
review discovered tools
choose the approval level
disable or remove it
[Screenshot: The Connectors section in Settings showing several connector cards on the left and a detail panel on the right with status, tools, and approval settings]
Personal vs. workspace connectors
Tresor supports two connector scopes:
Type | Best for | Who can manage it | Who can use it |
|---|---|---|---|
Personal | Your own accounts | You | Only you |
Workspace | Shared tools for a team or firm | Workspace owner or admin | Members who were granted access |
This is the most important permission rule to remember: workspace members can use granted workspace connectors, but only workspace owners and admins can add or change shared connector settings.
How to add a self-service connector
Open Settings → Connectors.
Click Add connector.
Choose a reviewed preset such as Google Drive or Luxembourg MCP, or choose Custom.
Enter or confirm the endpoint and allowed hosts.
Choose the authentication method.
Choose the approval mode.
Click Save.
If the connector uses your own account, click Connect account and finish sign-in.
[Screenshot: The Add connector dialog showing the preset library, endpoint field, allowed hosts field, auth method, and approval mode]
If a preset needs credentials from your own account, Tresor stores that connection in encrypted form.
How to use a connector in chat
Open a new or existing conversation.
In the prompt box menu, open Connectors.
Turn on the connector you want to attach.
Look for the connector badge below the prompt box.
Send your message as usual.
Approve the tool call if Tresor asks.
[Screenshot: The prompt box menu with a Connectors submenu open and one connector selected, plus an attached connector badge below the message field]
Connectors are attached per conversation. Turning one on in one chat does not silently enable it everywhere else.
Approval and privacy
Connector use is explicit because it can send a request outside Tresor to the external system behind that connector.
Tresor makes that visible and controllable:
you choose which connector is attached to the conversation
you can see the connector's destination and status in Settings
you can set the approval level for the connector
you can disable or remove a connector at any time
Approval modes are:
Always ask: approve each connector call
Once per conversation: approve the first call, then reuse that approval for the rest of the chat
Always allow: auto-allow approved read-only tools
🔒 Privacy: A connector is not a silent background integration. Tresor shows when a conversation can use one, and you choose whether that connector is part of the chat.
What leaves Tresor when you use a connector
Be deliberate here: when a connector tool runs, the external system receives the request it needs in order to answer.
That means:
you should attach connectors only when you want that system involved
the connector may see part of your prompt or related context needed for the tool call
different connectors have different trust models, so review the destination and hosting before you use one
This is why Tresor separates connector setup, attachment, and approval instead of hiding them behind a generic "integration" switch.
Managed connectors installed by your organization
Some connectors are not self-service. A firm-managed connector such as Avonca is usually set up in stages:
Tresor links the connector to your workspace.
Your IT team installs and operates the connector.
A workspace admin confirms the connector identity for the workspace.
Individual users are enrolled for access.
When that happens, the connector appears in your list, but you do not create it from the self-service form yourself.
If you click a preset and see provisioning instructions instead of a setup form, that connector is managed rather than self-service.
What connector statuses mean
Connected: ready to use
Needs setup: saved, but still missing authentication, access, trust setup, or tool discovery
Expired: the account connection needs to be refreshed
Error: the last connection or tool-discovery attempt failed
Disabled: saved, but unavailable until re-enabled
Good to know
Workspace members only see workspace connectors they have been granted access to.
Only workspace owners and admins can add or change workspace connectors.
Personal connectors are separate from workspace connectors.
In the current release, connectors are limited to read-only tools. Write-capable tools stay blocked.
Some connectors are reviewed presets, while others require manual setup.
Some organization-managed connectors require both Tresor and your IT team to provision them before they can be used.
The recent activity panel shows connector events without exposing your conversation content.
Technical detail
Tresor connectors use the Model Context Protocol, a standard way for AI assistants to talk to external tools. Each connector has an explicit destination list, an approval policy, and a discovered tool list. For some managed connectors, Tresor also verifies that the workspace is talking to the expected server rather than just any server at the same address.
Related articles
Workspaces and team collaboration — Share connectors and other resources with your team.
Web search — Another feature that can send requests outside Tresor, with approval.
How Tresor protects your privacy — The full privacy model behind the product.
Was this helpful?